Aldi Graphic Markers with Swatching and Other Hauls

Hello fellow Alchemists,

In today’s video I share with you a couple of small hauls from around my town and one sent to me from Victoria :). Luckily I have made a friend who helped me out when I was in a bind by sending me the Aldi Graphic Markers.  You can check out her shop here. Unfortunately there were some issues with the delivery company. So it took a bit longer than it should have to get to me lol.

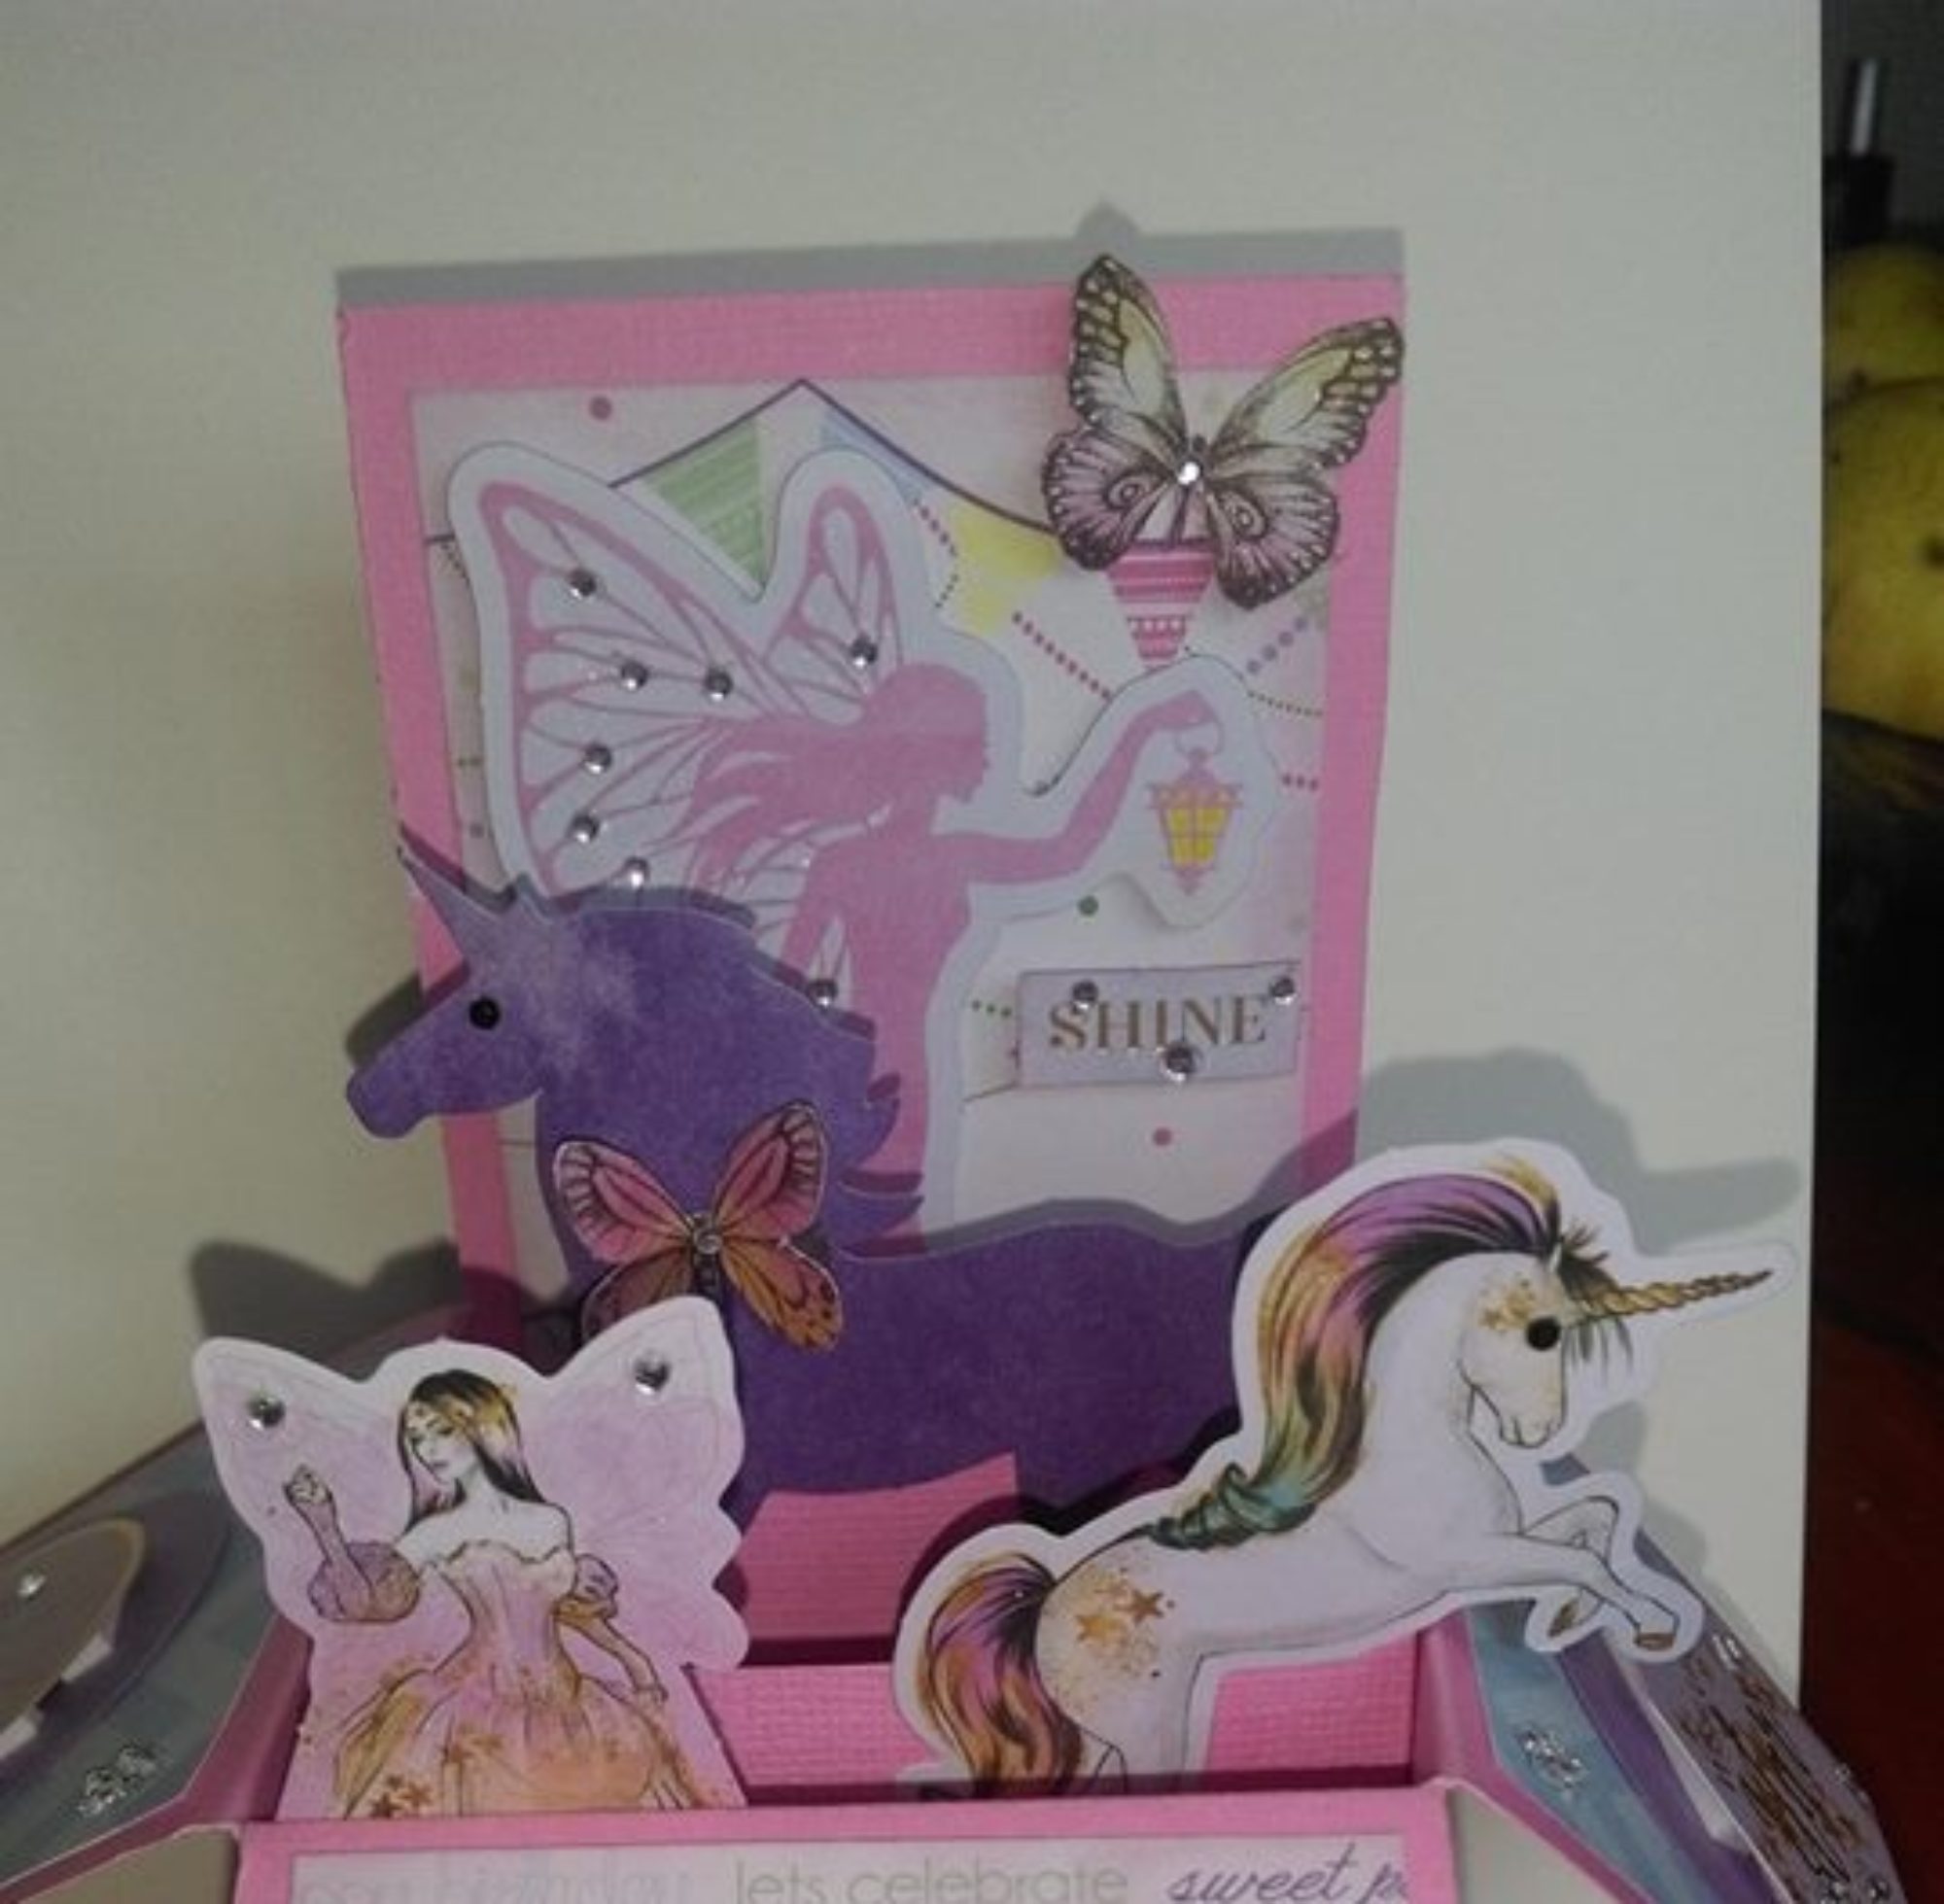
Why do I need so may clip boards? To help shoot colouring videos hopefully as you can see in this card I made. Still learning though and am thinking I may need to turn the board sideways so the angle better. Also one is for colouring on the go as I have started taking markers and stamped images with me when I go places. The stickers are just so pretty they had to come home with me.

Apparently I need a lot of cutters because I bought the mini Stanley knife set and the rotary cutter from Aldi lol. The rotary cutter is because I have 300gsm cardstock and I waste some because in order for it to fit I my paper trimmer I have to fold each sheet in half :(. Cheap washi is always good and good for happy mail I’m told :D. The mat I didn’t need but it’s a pretty blue. Purple would be even better lol.

My awesome friend Melinda sent me the Alcohol Markers so I could road test them :). So far they actually seem pretty nice. Not many blending colours but they were $1.08au a marker. There are other ways to blend like I showed in the video. In my package there were also some packets of awesome chipboard. I already have a card idea for the super hero masks :).

Hope you are getting some arty crafty alchemy on :). Bye for now.

The Arty Crafty Alchemist
 

My First 10 Distress Oxide Swatches

Hello Fellow Alchemists,

Today my lovely assistant, better known as my daughter, and I are creating Distress Oxide swatches from my first 10 colours. You saw me haul the Distress Oxides here. We are using four different methods to create the swatches and adding water to some.

We are creating our Distress Oxide swatches using manila tags, brushes, blending tools and foams and the ink pads themselves. The Distress oxides have a different effect than regular distress inks. When water is added they “oxidise” or form a paler layer on top. But that’s not all, because Distress Oxides are both a pigment and a dye based ink pad the more water you add the more of the dye ink wicks out the bottom. Remember the Distress Embossing powder over regular Distress Ink and spritzed with water? It is similar to that except now we have the pigment ink on top doing it’s magic instead.

Firstly my assistant took a brush and blended the colour over tags lightly? Ok well she was a bit heavy handed but she didn’t know any better, lol. Then she used the Blending Tool to do the second Distress Oxide swatch. For the third and fourth swatches she went directly to the paper from the ink pad. The first two swatches had water flicked on them from her fingers, the third had water from the Distress Spray Bottle and the fourth had no water.

We created Distress Oxide Swatches in all 10 of the colours I currently own. Antique Linen, Squeezed Lemonade, Picked Raspberry, Candied Apple, Wilted Violet, Salty Ocean, Peacock Feathers, Cracked Pistachio, Walnut Stain and Black Soot. I picked these colours to try and have a somewhat well rounded palette. Also because these blend so well it’s easy to make your own colours as well while blending. Above is the re-swatch of the black soot as the right sample is the one with the dry inkpad.

What is your favourite Distress Oxide colour?

Hope everyone is creating their own Arty Crafty Alchemy this weekend. I hope to but my daughter has part one of a science experiment due 🙁

The Arty Crafty Alchemist

#distressoxide #timholtz #swatching #lawnfawn #stampshammy #rangerink