Mixed Media Canvases

Hello Fellow Alchemists,

Today I am sharing with you four canvases that I made a couple of months ago. There is an elephant, a butterfly one, a mermaid one and a steam punk cogs and gears one. The elephant was super quick but the others to ages as my indecisiveness got in the way, lol.

For the butterfly MDF circle I used a Kaisercraft butterfly stencil with Liquetex modelling paste. I gessoed with Aldi Primer and then misted various pink and purple Distress Sprays and Dylusions. I used a Kaisercraft stamp in the background with archival ink. Then I cut letters with a Kaisercraft alphabet and layered them up 3 or 4 times and rubbed over them with Hydrangea Inka Gold. Finishing up with a few pearls. The big butterfly is from a Tim Holtz die set.

Butterfly Canvas

The next canvas is 5″ x 7″ and was nice and quick to do. I used a Kmart Stencil in the background and some Jo Sonja Black Gesso to cover the canvas. The elephant chipboard is from Scrapbookingncraft. In the background and on the elephant is Prima Antique Brilliance. I then added a couple of black rhinestones to add dimension to the eyes.

Elephant Canvas

The next two canvases have multiple layers and are more complicated. The Mermaid again uses chipboard from Scrapbookingncraft, the mermaid and the bubbles. Distress and Dylusions sprays have been used over a spotty stencil and the chipboard was painted with Prima Opal Magic. The little bubbly balls are Prima art stones coated in distress spray then coated with Inka Gold in colours as closely matching as possible to give them a little shine. I used some random bits I had in my stash to decorate, a metal turtle charm, a starfish, a real shell and a piece of coral from a Kaisercraft wood embellishments pack and they have been gessoed and painted with opal magic.

The ones that took the longest!

And finally the most ambitious one. A steampunk industrial fiesta lol. Again I used various cogs and pipes chipboard pieces from Scarpbookingncraft. I also used the Tim Holtz bigz cogs die, Ideaology metal cogs and Kaisercraft Wooden Flourishes cogs. To this I also added an Ideaology key, sentiment banner and accoutrement button. The large circle pieces are repurposed earrings and everything has been coated with white gesso then misted with Dylusions and Distress sprays. Both the pipes and cogs background stencils are from Kaisercraft.

Industrial Steampunk Canvas

Sorry for the really long post lol, it was a lot to fit in! I can’t pick a favourite between the Mermaid and the Industrial Steampunk Canvas. Let me know in the comments which of the four you like best. If I’ve missed an item or you have a question comment bellow. Hope you’re doing some arty crafty alchemy yourself, thanks for stopping by.
The Arty Crafty Alchemist

How I Decorated My Planner for August 2018

Hello fellow Alchemists,

Today I am sharing how I decorated my planner for the whole month of August. It was a bit of a marathon! Keep reading to see what I used.

The Reject Shops amazing paper pads and ephemera packs are mostly what I used to decorate, though I did throw in a Kaisercraft at the end. Unfortunately I don’t own many matching Kaisercraft pads and ephemera.

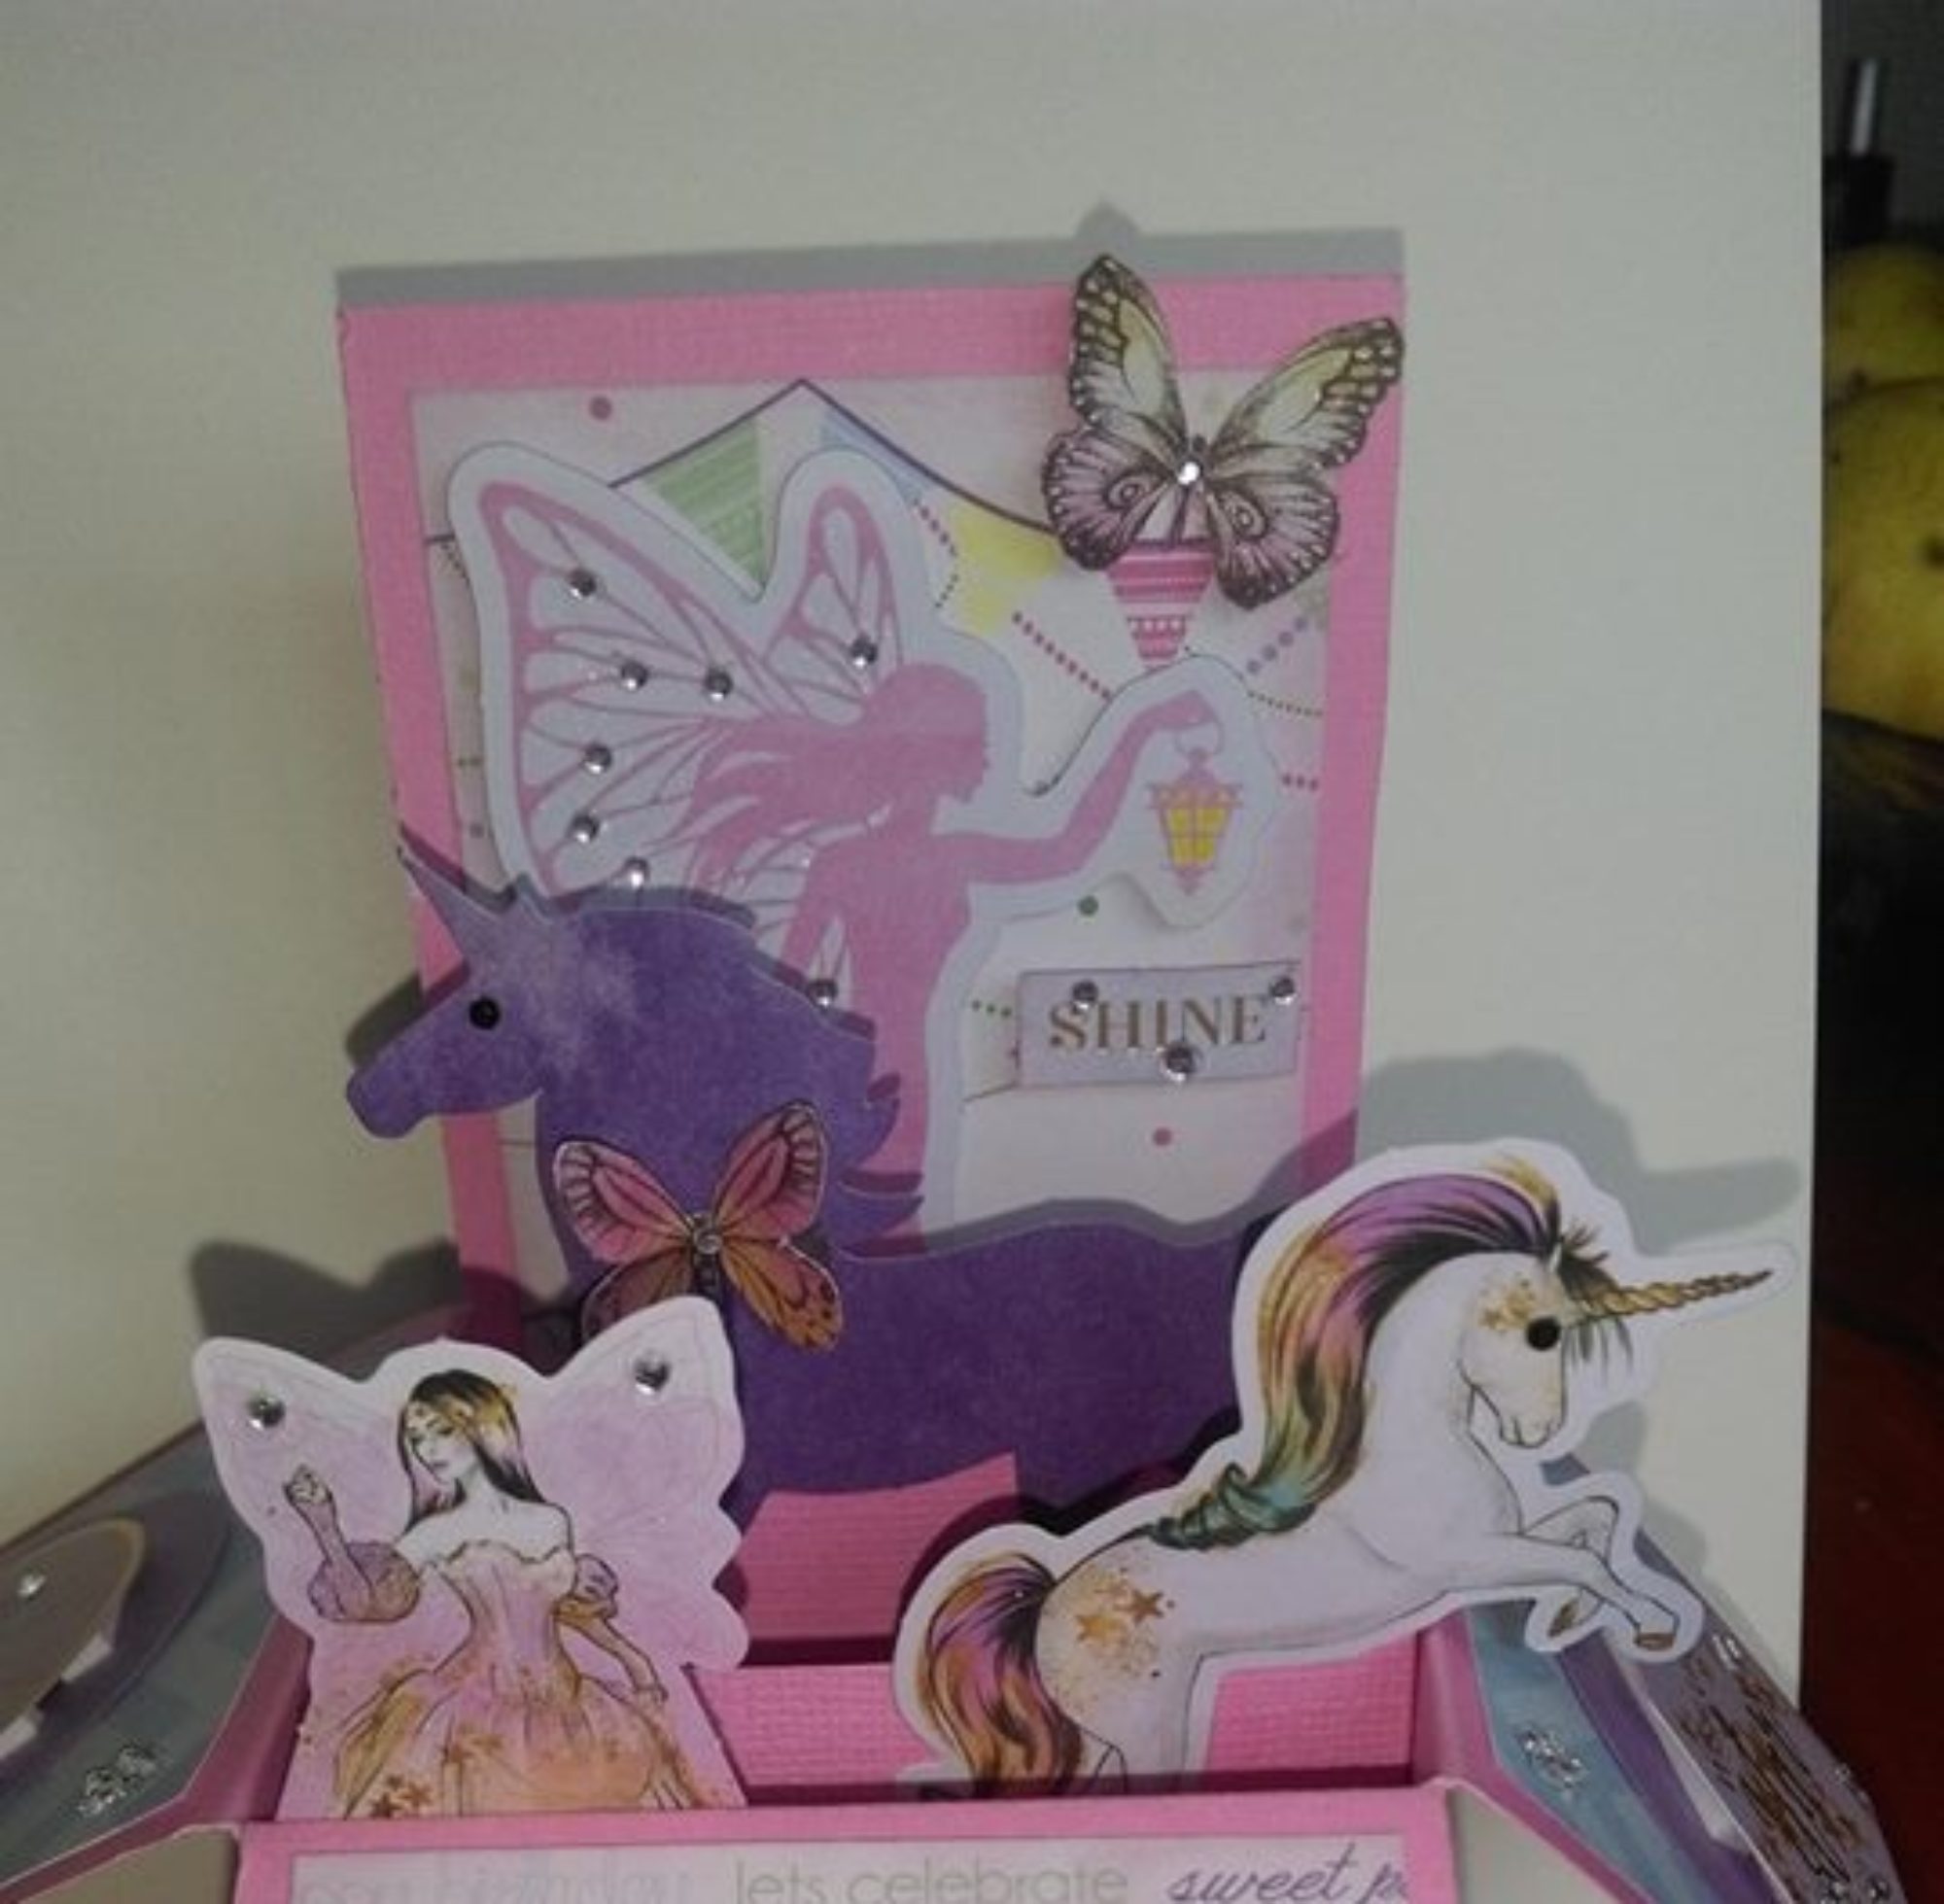
I started with my favourite pad and ephemera from The Reject Shop, the Fanciful collection. Mermaids, unicorns and fairies, swoon! All in pretty pinks and purples. I used one of each along with some other ephemera to accent the papers.

Next I used my Here & Now journal cards and ephemera as I don’t have the paper pad that matched this collection. I trimmed two journal cards down and used pieces as matting, borders and an accent piece. I also used one of the larger pieces as a replacement for paper. The ephemera pack for this collection was huge. 180 pieces! It was hard to choose what to put on the page!

Then I used the Twig & Twine Collection. Opting for the more pale orange pieces instead of the stronger peach colour. This collection even has butterflies, which is another of my favourite things! This collection has a lot of vintagey goodness šŸ™‚ I also stamped some plain washi to match.

This next one I think is my favourite layout for the month. I used the gorgeous Carpe Diem collection.Ā  Beautiful purples, mauves, pinks and blues. Again I cut up a journalling card in place of washi as well as some glitter tape. I had to add the gorgeous rose even though it didn’t leave me much space to write lol.

Lastly I used Golden Grove by Kaisercraft with it’s lovely golden yellows to indicate coming into spring. There was a paper with lot’s of strips I utilised as washi. I used some of the bigger pieces of ephemera for this week so did not need to use many.

Hopefully you enjoyed my month long planning lay outs. Go do some arty crafty alchemy yourselves. Catch you all later.

The Arty Crafty Alchemist

Rainbow Card Using The July Hedgehog Hollow Sunny Studios Box

Hello fellow Alchemists,

Today I am sharing with you a Rainbow Card using the July Hedgehog Hollow Sunny Studios Box. You can see my unboxing here and the first card I made with it here. I love the paper Sunny Studios gave us in this box! Pretty pretty rainbows šŸ™‚

Starting with my usual KmartĀ card base andĀ cut one panel on the long side with the stitched ric rac border die from the Sunny Studios Ric Rac Border Dies. Taking the ric rac die, I cut six different colours of the Rainbow Bright paper thatĀ came in the box. Then using the 6 pieces ofĀ ric rac to create a rainbow above where I die cut theĀ card base and adhered them with Helmar glue.

IĀ  then took the Rainbow Text Die andĀ cut it five times with blackĀ cardstock that had one sideĀ covered with Crafts 4 U double sided tape. Layering these up gives dimension. The sentiment is from the Over the Rainbow stamp set from the box and stamped with the Tim Holtz Stamp Platform with Archival Ink. With the stamped element in place I added the dimensional rainbow word.


Next I used a bunch of sequins to decorate the card. I used some I purchased from Ali Express and some from Darice. These were glued down with Lawn Fawndamentals glue. Finally for a little more shine I decided to add some Glossy Accents to the stacked rainbow word.

It was fun to create thisĀ Rainbow Card using The July Hedgehog Hollow Sunny Studios box.Ā  Be sure to check out my 250 Sub Party video so you don’t miss out! Hope you are creating your own arty crafty alchemy, bye for now.

The Arty Crafty Alchemist


Aldi Graphic Markers with Swatching and Other Hauls

Hello fellow Alchemists,

In today’s video I share with you a couple of small hauls from around my town and one sent to me from Victoria :). Luckily I have made a friend who helped me out when I was in a bind by sending me the Aldi Graphic Markers.Ā  You can check out her shop here. Unfortunately there were some issues with the delivery company. So it took a bit longer than it should have to get to me lol.

Why do I need so may clip boards? To help shoot colouring videos hopefully as you can see in this card I made. Still learning though and am thinking I may need to turn the board sideways so the angle better. Also one is for colouring on the go as I have started taking markers and stamped images with me when I go places. The stickers are just so pretty they had to come home with me.

Apparently I need a lot of cutters because I bought the mini Stanley knife set and the rotary cutter from Aldi lol. The rotary cutter is because I have 300gsm cardstock and I waste some because in order for it to fit I my paper trimmer I have to fold each sheet in half :(. Cheap washi is always good and good for happy mail I’m told :D. The mat I didn’t need but it’s a pretty blue. Purple would be even better lol.

My awesome friend Melinda sent me the Alcohol Markers so I could road test them :). So far they actually seem pretty nice. Not many blending colours but they were $1.08au a marker. There are other ways to blend like I showed in the video. In my package there were also some packets of awesome chipboard. I already have a card idea for the super hero masks :).

Hope you are getting some arty crafty alchemy on :). Bye for now.

The Arty Crafty Alchemist


Make Your Own Metallic and Pearl Paints Like Finetec/Coliro

Hello fellow Alchemists,

Today I am showing you how to make your own Metallic and Pearl paints like the Finetec Coliro and the Gansai Tambi gem and starry colour palettes. They are super easy to make with liquid Gum Arabic and any type of fine Mica Powder.

These turned out far better than I expected. I used a range of different mica powders to show that maybe you have something similar in your stash or your house that you can use too. I used Pearl Ex, Perfect Pearls, Colorworks gold powder and even a powdered eye shadow. You could even break up any of your sparkly eyeshadows and grind them down to a powder to make paint.Ā  Gum Arabic is a type of glue/binder that is often used to make watercolours so once the paint is dried and won’t wipe off your surface.

I have given a quick demo on some painted flowers, though I didn’t use the best brushes they still turned out pretty well. I am not a hand letterer yet, though I did do some calligraphy in my younger years, so will mostly use this paint to add shimmer highlights to flowers and butterflies and well anything else I think needs some added sparkle!

I have only mixed up five colours so far but I am sure I will add more. I have the whole collection of Pearl Ex and about eight Perfect Pearls. I also have a few bottles of those eye shadows that I bought to make paint. So I will be able to add a lot of variety to my colours when I make more šŸ™‚

Have you made your own Fintec Coliro ot Gansai Tambi type paints? They remind me a lot of H20s, though I never had them either :(. I used to love watching people make things with them. I have mixed pearl paint as I needed it before. That was with the powdered Gum Arabic though. I have read to get that to disperse properly you need to use warm water.

Hope you are making some arty crafty alchemy magic of your own. See you next time.

The Arty Crafty Alchemist

Kmart and Reject Shop Haul March 2018

Hello fellow Alchemists,

As you can see by the title I went shopping again lol. It’s an addiction, but when you find bargains like these, what can you do? “Buy them!” By now you may have realised I like shopping haha. On a side note I did purchase these before my last shopping haul video. Due to that haul being Easter themed I decided to show it first.

What can I say about Kmart? While most of the time their prices are great a lot of their craft items can be overpriced for what you get. I miss the days when they had a larger selection of more interesting things. They do still have packs of 25 cards bases with envelopes for $3. This is what I use for most of my card bases. I’ve been managing to get to Kmart a little more frequently than I normally would so got to snag a few bargains šŸ™‚

The envelopes for 50c were a steal! Especially seeing as they were star dream paper and there is 10 in a packet. They can be used as envelopes, cut them up for matting, use them in mini albums or die cut them, they were so cheap and I can use them for many things. The paper bags are awesome, have always wanted to make a paper bag album so that’s definitely on the cards now!

I actually walked out of the reject shop today, well yesterday when this comes out, without buying anything! They have no new stuff yet and I am good with that lol. I did go to the art shop but that’s another story … Apart from the other stuff I got I am super happy I found the Glasshouse papers to go with the other things I have from that range. I got them before I started this channel so when I go to use them I will do a quick share. The glossies I got in this video do match the Glasshouse range.

I am very excited for an arty crafty hack or two I have coming up. Hope you’re creating your own arty crafty alchemy. See you next time šŸ™‚

The Arty Crafty Alchemist

#kmart #rejectshop #glasshouse

Easter Happy Mail, A Haul and an Easter Card

Happy Easter Fellow Alchemists,

Today I received my channels first happy mail woo hoo šŸ™‚ We, my kids son in law and I,Ā  also went shopping at Kmart, always dangerous. In the video I am also sharing my second Easter card from The Hedgehog Hollow Lawn Fawn February 2018 box. You can see my unboxing here and the other card you can see in this video here.

First up my lovely happy mail from Alexis and Melinda Art Space, you can find them here. They do arty crafty and mixed media type things :). In the package were an alphabet stamp set, a pretty Easter bag, an Easter card, and lot’s of Eastery die cuts. Thank you Alexis and Melinda!

Then I went to Kmart for 50% off Easter eggs and did a mini haul as well lol. Leaving the house is dangerous! Firstly I got some bargain Easter props for my channel for next year. Cute little metallic bunnies and a bunny jar. I also got some shredded paper for packing things nice and pretty or just adding volume to a box etc when needed. Lastly I got some notebooks for myself for you tube related things. There are notebooks here that I keep my video ideas and things in but I needed something to write out my card making process and other little things like my video intros! I find it helps to write them out before I film so I don’t fluff it up as many times lol.

Onto the Easter card made with The Hedgehog Hollow February box. Love the Lawn Fawn products and have just ordered a bunch more… Happy Easter to me! I used the Some Bunny stamp set for all the stamping and Copics and Promarkers to colour the images. From the box I used the Spring Sprig and Slide On Over Semi Circle dies as well as an Elizabeth Crafts Banner set. The sentiment is stuck down with Kool Tak clear foam tape so you don’t see it underneath. I used a very smooth button for the slider mechanism so it wouldn’t catch on anything and baby powder on the tape edges so it glides nicely.

What did you work on for Easter?

Thanks for hopping by

The Arty Crafty Alchemist

#broughttolifebyyou #lawnfawn #hedgehoghollow #thehedgehoghollow #copics #promarkers #stampplatform #happymail #kmart